Easy Sermon Design
It looks much nicer when you share your sermons online or on social media if there is an image along with it. This guide will show you how to use a tool called Snappa to easily create a beautiful looking design for your sermon series.
Snappa is an online tool that makes it easy to create online graphics. It is not made for experts - it's not photoshop - it is fairly simple and easy to use. There is a free plan that allows you to download three of your creations each month - this should be fine for most churches - after that it is $10/month for unlimited downloads.
Steps
Sign up for a Snappa account
- First off you need a Snappa account.
- Head over to https://snappa.com/ and sign up.
- Once you have an account you should be able to create your first image.
Create a new image
- If you want to use your image on a screen in church, or if you want to use it with Yet Another Sermon Host, then a 16x9 image works best. Use the custom dimensions fields to create a new image that is
1920 x 1080. - If you want to create an image for social media, or another use, then pick one of the available templates in Snappa. You can still follow the rest of this guide - your image size doesn't matter.

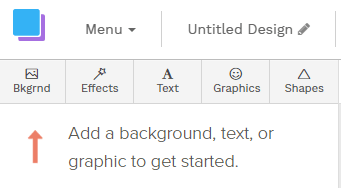
Add a background
- You have a blank image now - time to add a background.
- Click on the
Bkgrndbutton:
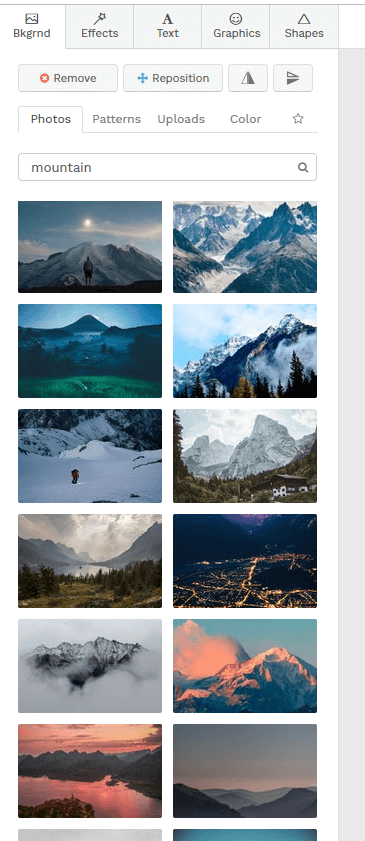
- You can now search for a suitable image
- We'll make an image for a series on Exodus
- So search for "mountain"
- Then pick a suitable result:
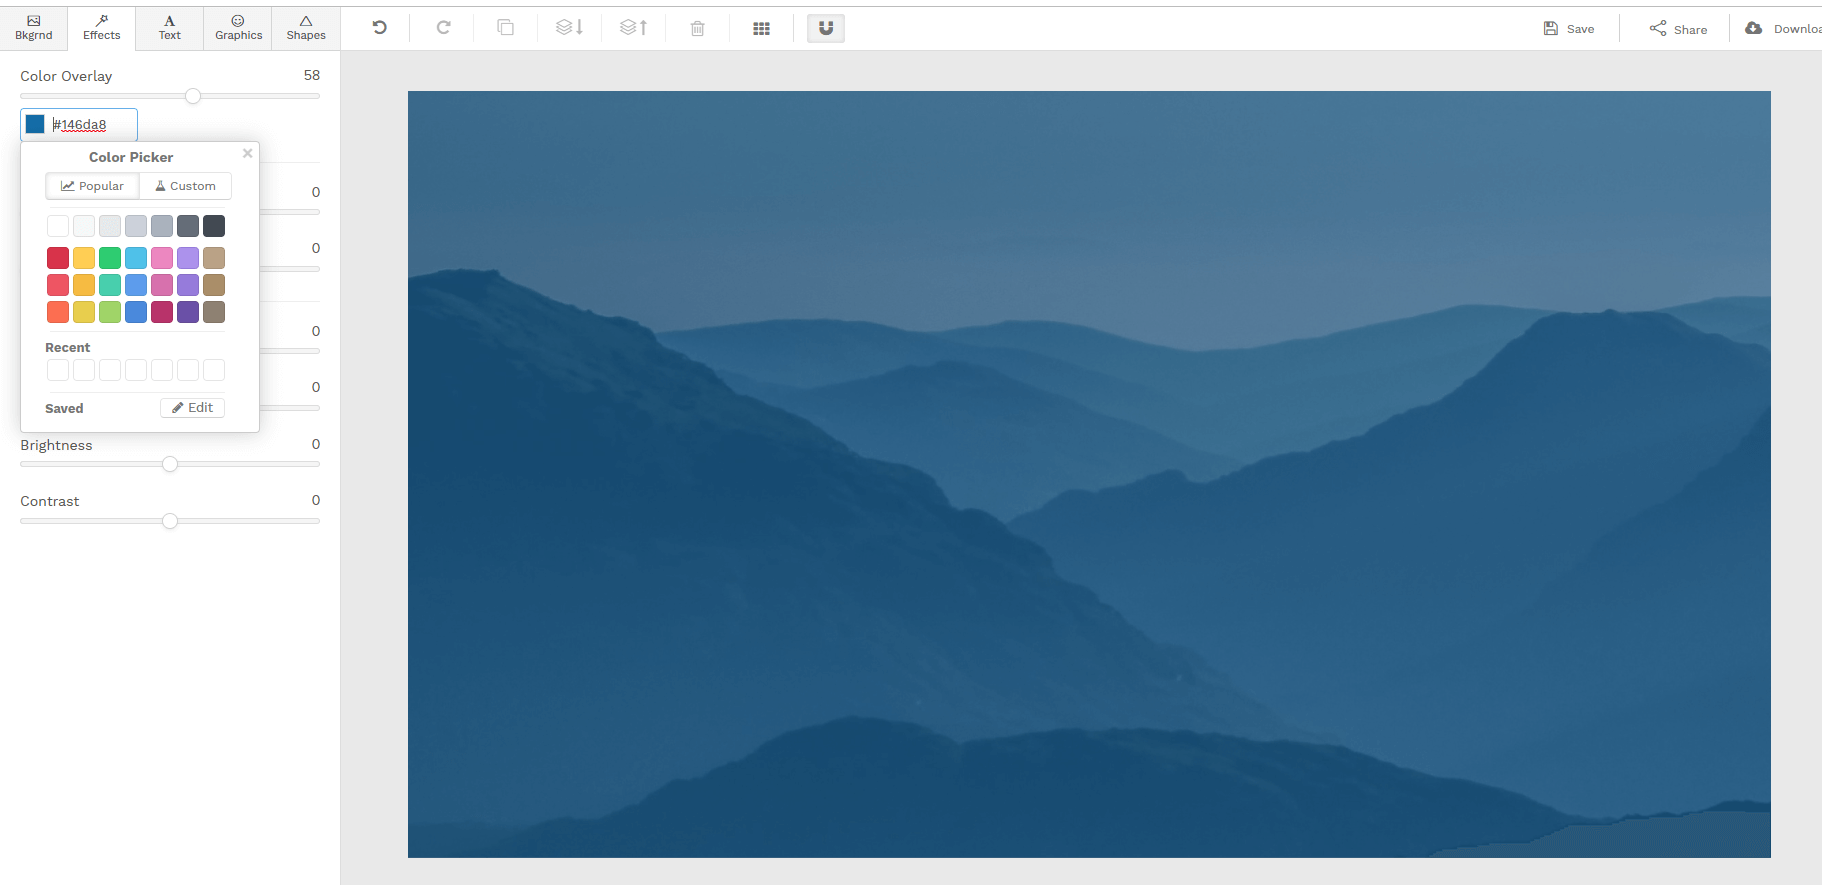
Add a colour overlay
- Now we have an image we are going to add a "colour overlay". This will make our slide look a bit better and should make it a lot easier to read any text we drop in.
- Click on the
Effectstab. - Then move the
Colour Overlayslider until things look nice. - Try some different colours.
- Play around until you are happy.
Add your text
- Time for some text.
- Click the
Texttab. - Click on
Add a Heading
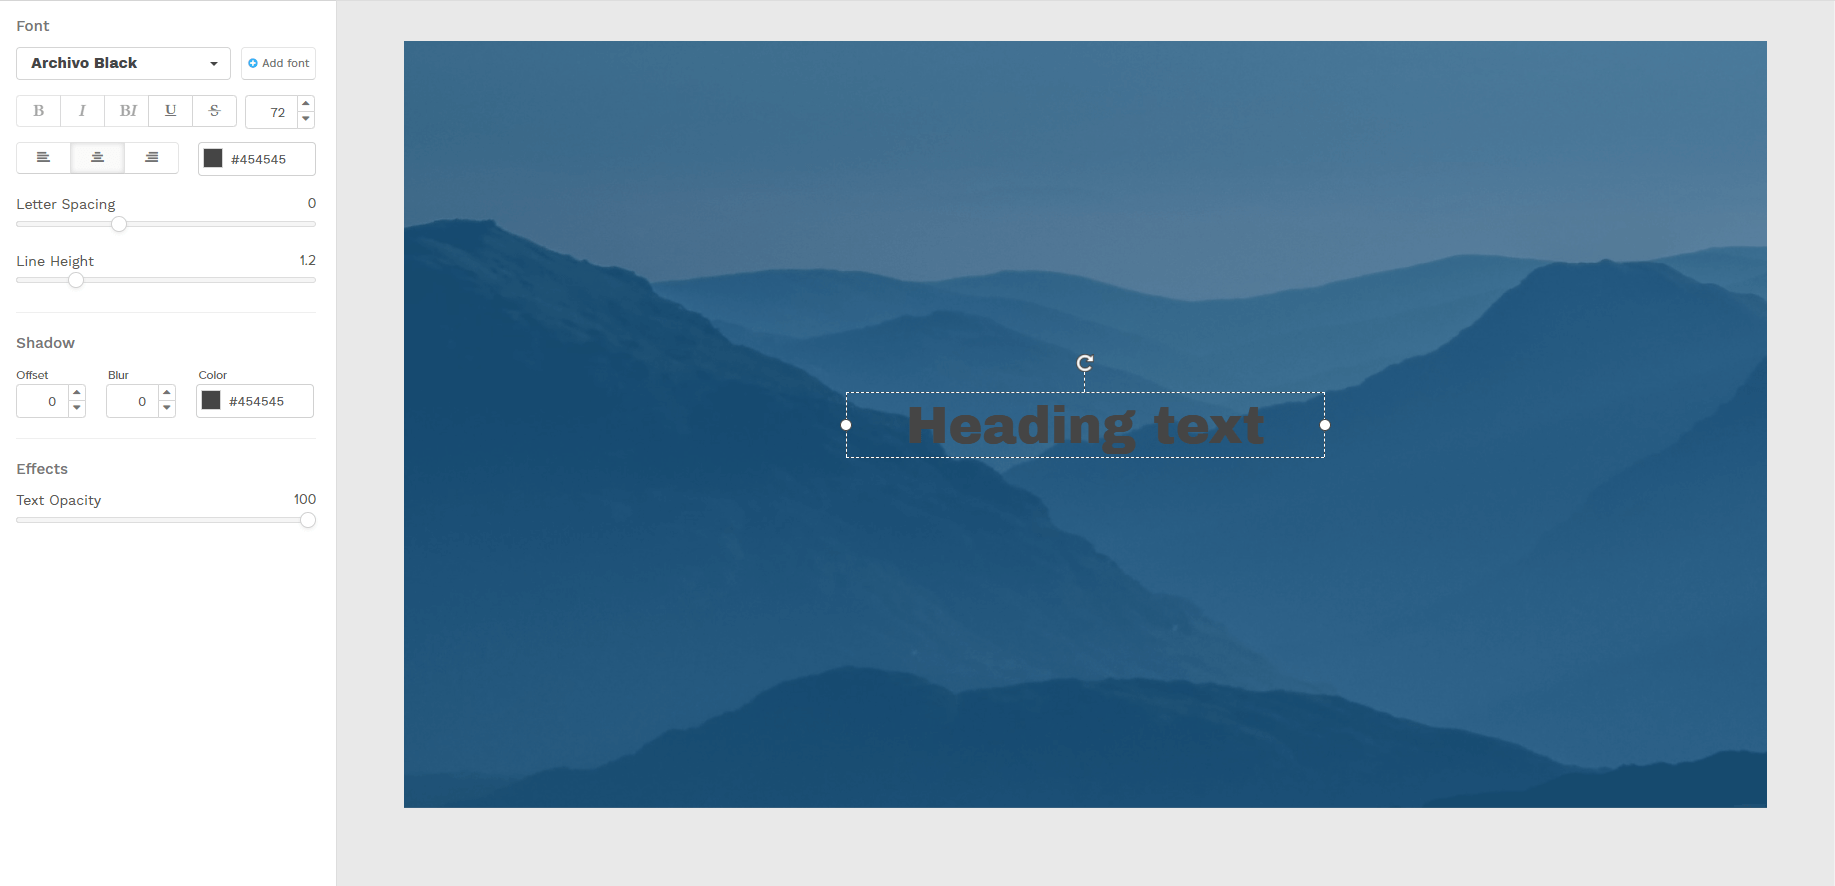
- That doesn't look very good.
- Pick a nicer font.
- Make the text size a bit bigger.
- Choose a better colour.

- That looks a little better now.
- You can add a subheading too if you fancy:

Experiment
- Change things!
- Change the colour overlay, or the text size, or the font, or use a different background image. Move the text around. Just play around with it until you get something that looks good.

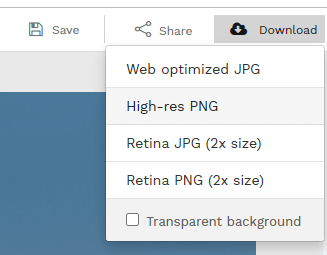
Download
- When you are happy it is time to download your image to use it elsewhere.
- First hit
Saveso you can get back to your image later. - Click
Downloadand pick an option (High-res PNGis fine):
That's it! You're done - you can now add graphics design to your CV (or maybe not...).