Sermon Design with Figma
Figma is a design tool that runs in your browser. You can use it for many may things, but this article will show you how to create designs for your sermons or sermon series with it.
You can do the same thing with Snappa - it is a much easier to use, but you will have to pay for it if you start to use it frequently. Figma is a bit harder to get started with, but it will be free (if you don't have lots of collaborators) and you can do more things with it long term.
Steps
Create a Figma account
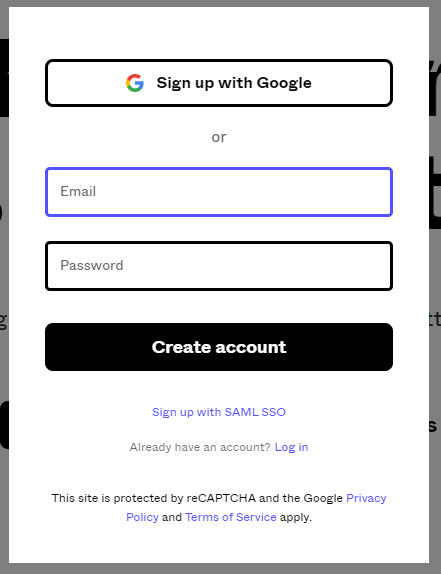
Click the Sign up button at the top of the page:

Create your Figma account:
- After you have got your account, you will see an onboarding guide from Figma. Click through it to learn some basics about Figma.
- Open a new document and get started on your sermon design:
Draw a rectangle
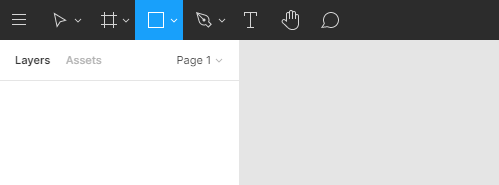
- Select the rectangle tool (at the top left):
- Draw a rectangle with the tool - make it any old size:
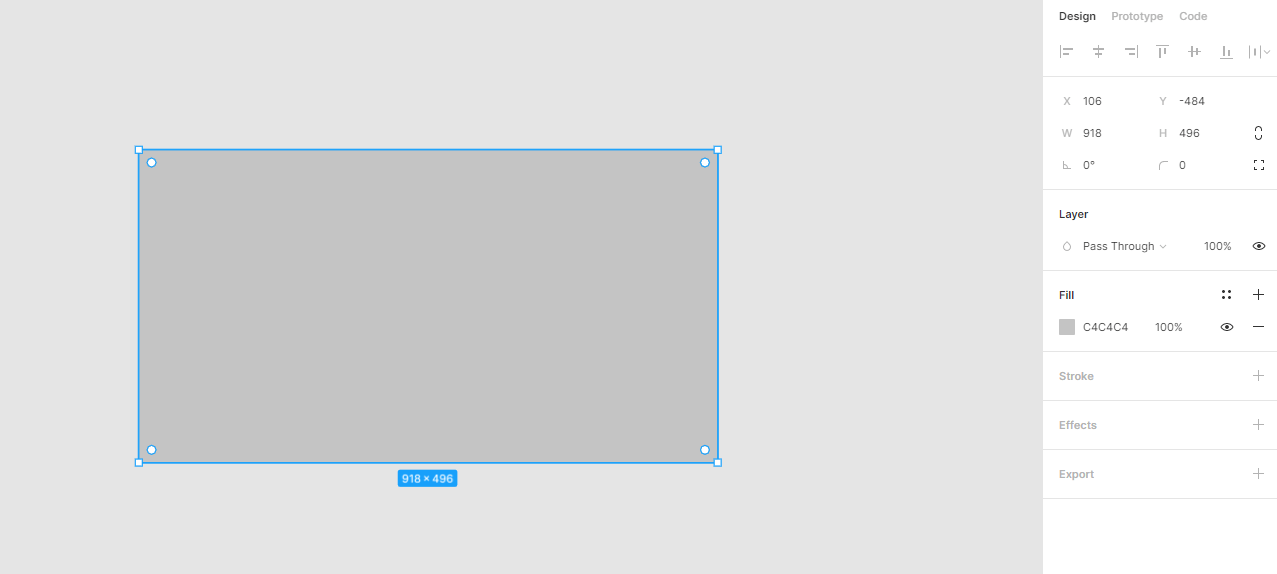
- In the panel on the right: change the
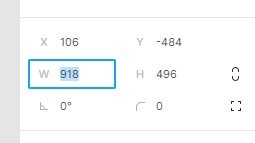
HandWfields to900and1600:
- Zoom out a bit (
ctrlandscroll wheel) so you can seen the whole rectangle you just created.
Install the Unsplash plugin
To pull in images easily we can install the Unsplash plugin (you only have to do this once).
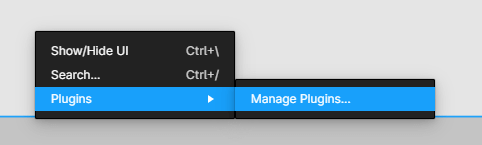
- Right click on the canvas, in the menu select
Plugins → Manage Plugins...:
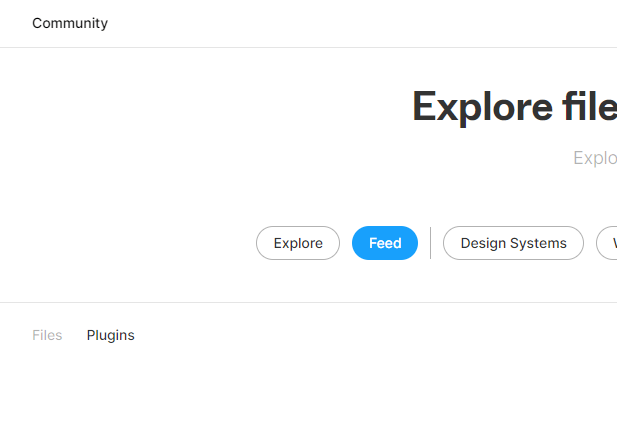
- This will pop open a new window - click on the Community tab on the left:

- Click on the plugins tab:
- In the list, find Unsplash and click the install button:

Add an image
Now we have the Unsplash plugin installed we can add an image:
- Go back to your canvas
- Select the rectangle (click on it)
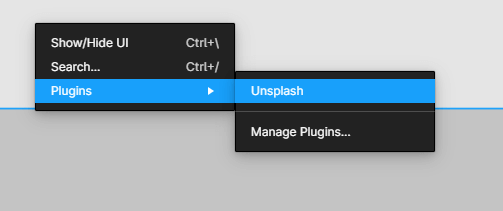
- Right click the rectangle and in the menu select
Plugins → Unsplash
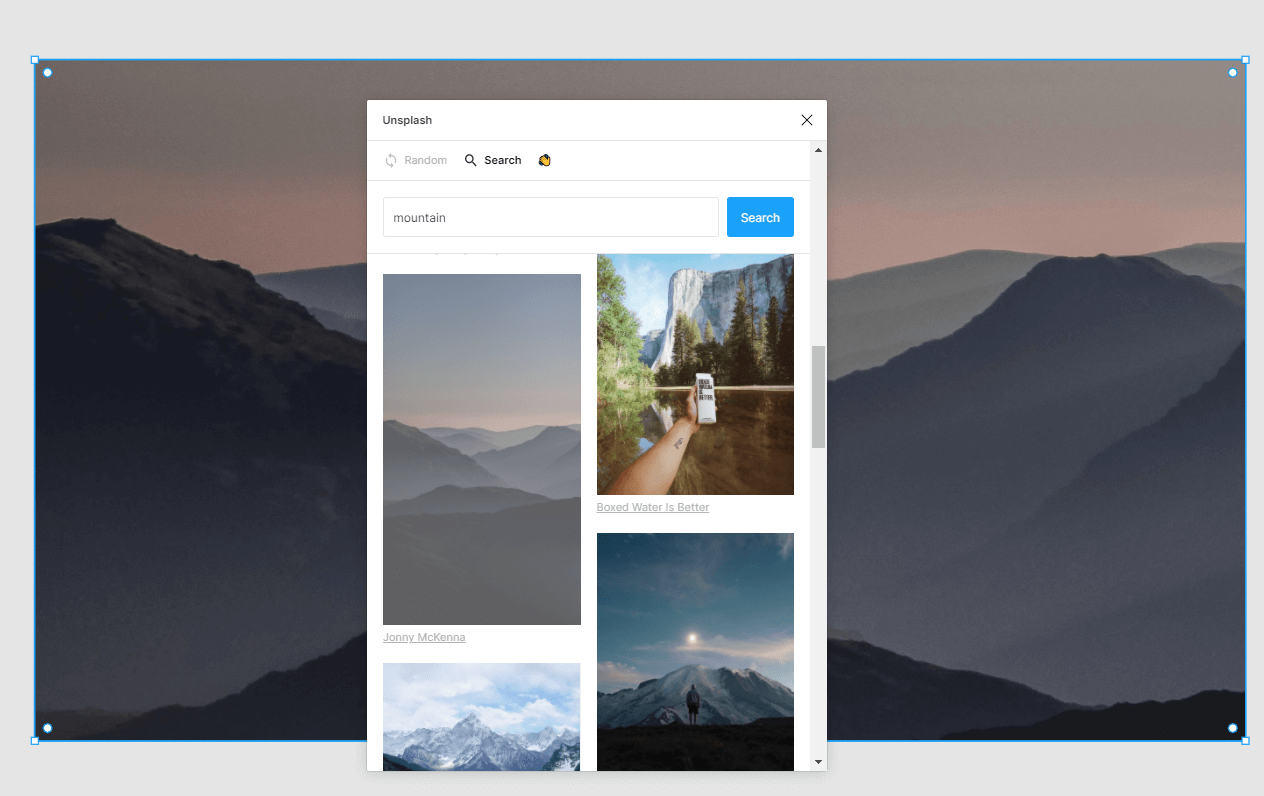
- Now we can grab our image¬
- Click on search and search for "mountain"
- Find a suitable image & click to add it to your canvas. Close the unsplash popup
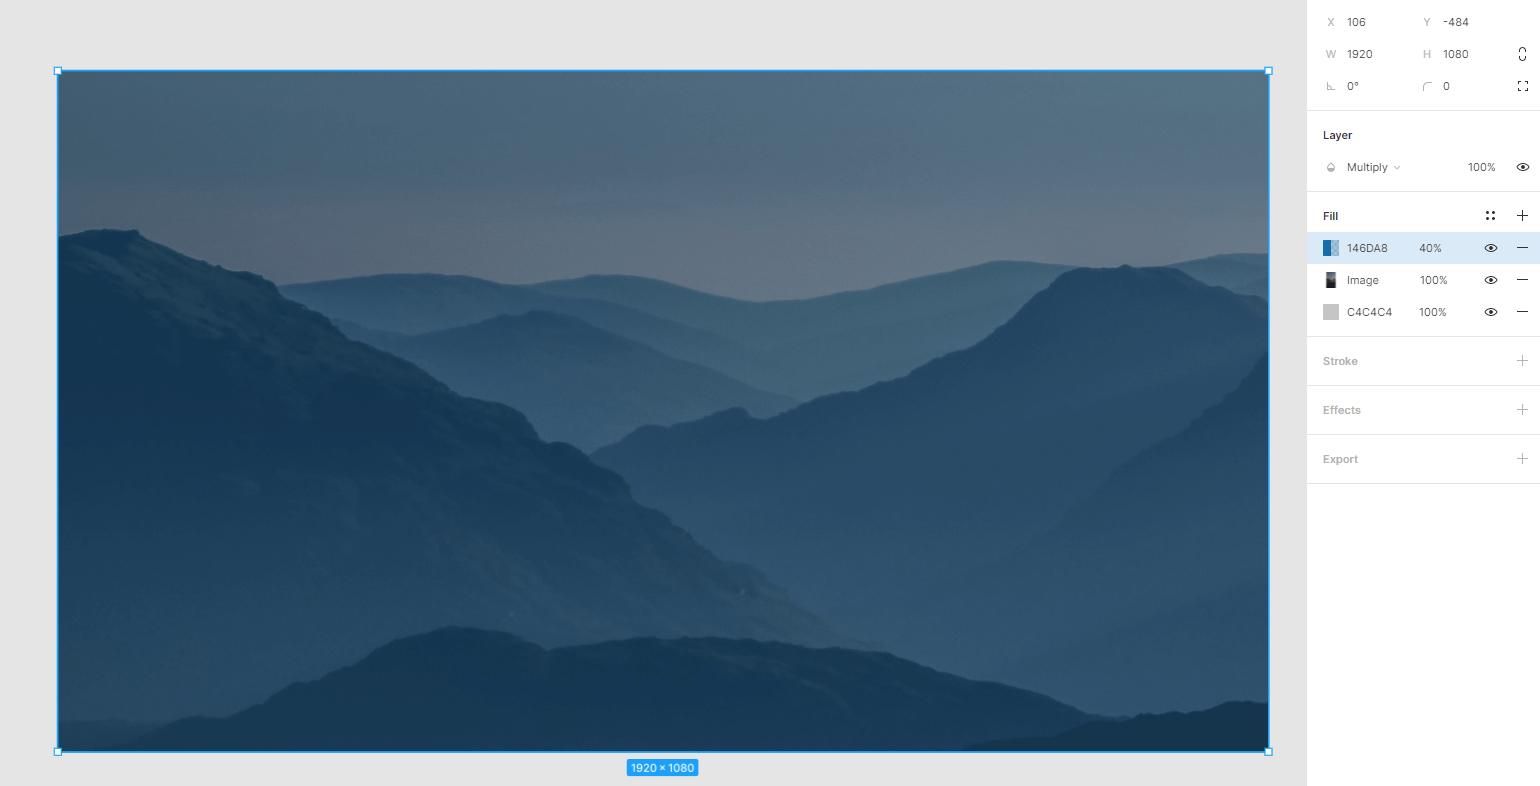
Add a splash of colour
We want to add a colour overlay to make our image a bit more interesting.
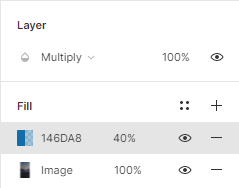
- Click on plus near in
Fillsection - Change
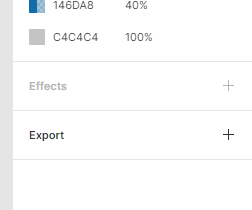
LineartoSolid - Click on the block of colour and change it to a nice blue shade
- Under layer, change
Pass ThroughtoMultiply - Fiddle with transparency until things look nice
- It should look something like this when you are done:
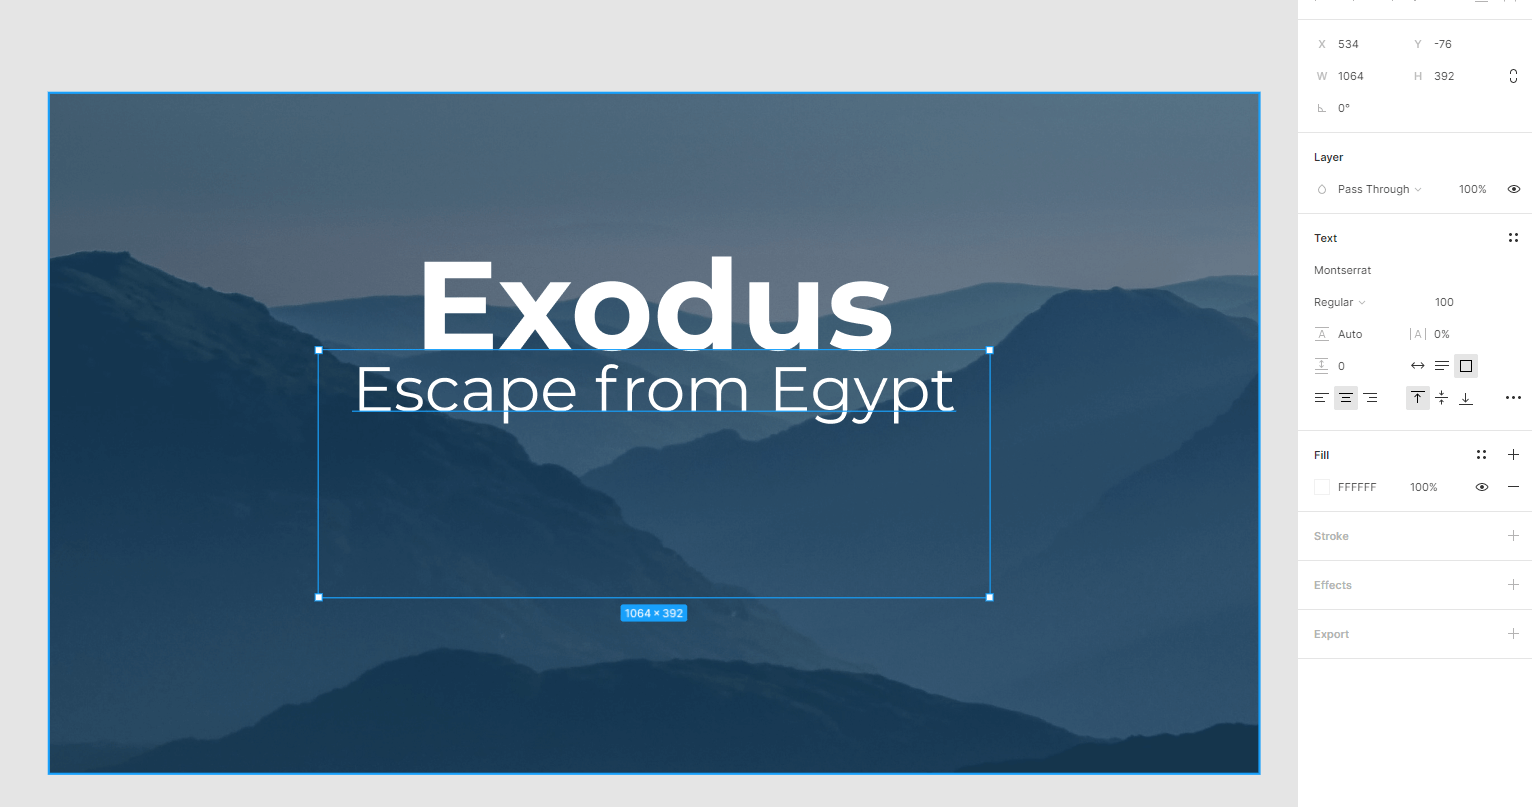
Add some text
Now it's time to add some text!
- Click the
Tat the top of the window - Draw a box in the the middle of the rectangle
- Type in the box, select all the text, then change the text settings:
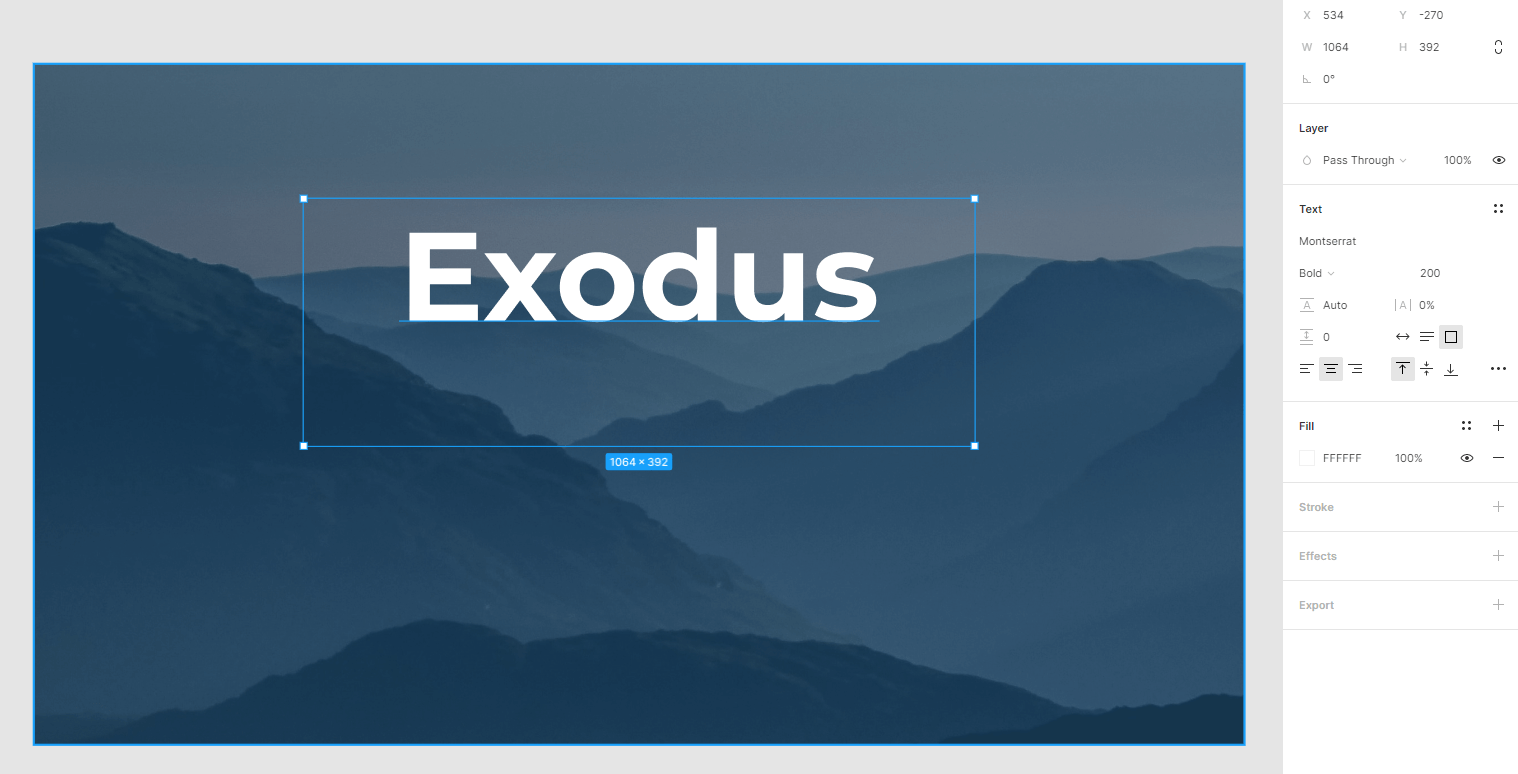
- Pick a nicer font, make it the right size and change the colour to make it suit
- Add a subheading by repeating the steps - create a new text box and fiddle with the font and position until you are happy
Experiment
- Change things!
- Change the colour overlay, or the text size, or the font, or use a different background image. Move the text around. Just play around with it until you get something that looks good.
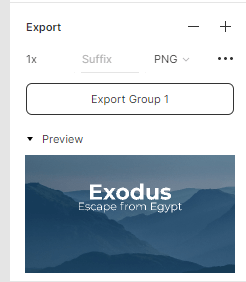
Export
- Select all the content (
ctrl-a) - Group everything (hit
ctrl-g). You can undo the grouping withctrl-shift-gif you want to change things around again - Click Export (on the bottom right hand side)
- Expand the preview to check that things look ok
- Click the Export button and save your file to your computre
That's it! You're done.